HA-IP Pro is a load balancer with automatic failover functionality. HA-IP Pro allows you to quickly create scalable environments which automatically split the network traffic evenly over multiple VPSes. If one of your VPSes can’t be reached, traffic will automatically be forwarded to the VPSes that can still be reached.
Your HA-IP Pro overview
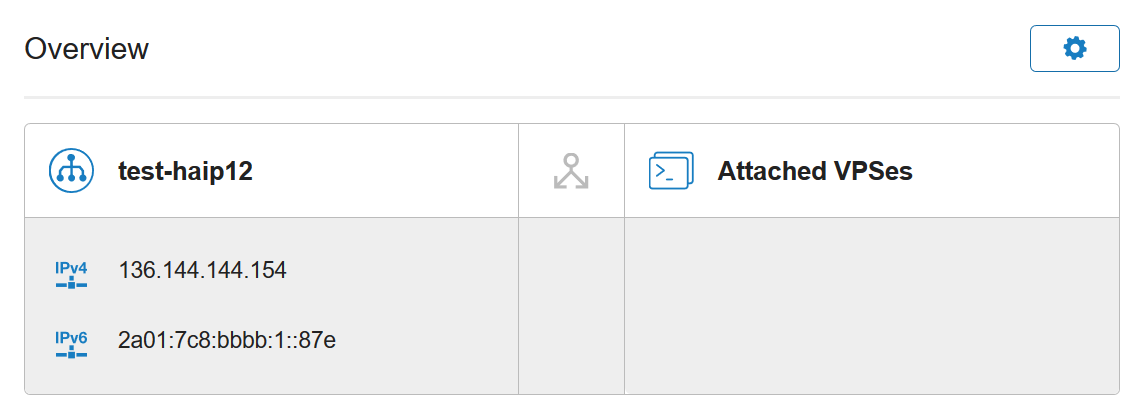
After ordering you can find your HA-IP Pro in your control panel under the tab ‘VPS’. Here you can review the IP addresses of your HA-IP Pro, the number of connected VPSes and the configuration of the HA-IP Pro settings.
You can also encrypt the traffic from your domain to your HA-IP by means of an SSL certificate.
How do I attach my VPSes to HA-IP Pro?
Attaching your servers is done through your control panel. Click the cogwheel behind 'Overview'. Next, check which VPSes are available, and choose the VPSes you’d like to connect and select the box beneath ‘Attach’ (visible under 'Manage' > 'Network Information').
Please note that the primairy IPv4 address and selected IPv6-address must also be configured on the VPS itself. This can be checked by running one of the commands below on your VPS:
Linux
ip a
ifconfig
Windows
ipconfigClick 'Attach' after selecting an IPv4- and IPv6-address.

Tip: You can use the 'Find VPS' search field if you have more VPSs then are shown in this overview.
Checking the connection status
On the overview page you can review if your VPSes are available, partially available, or unavailable.
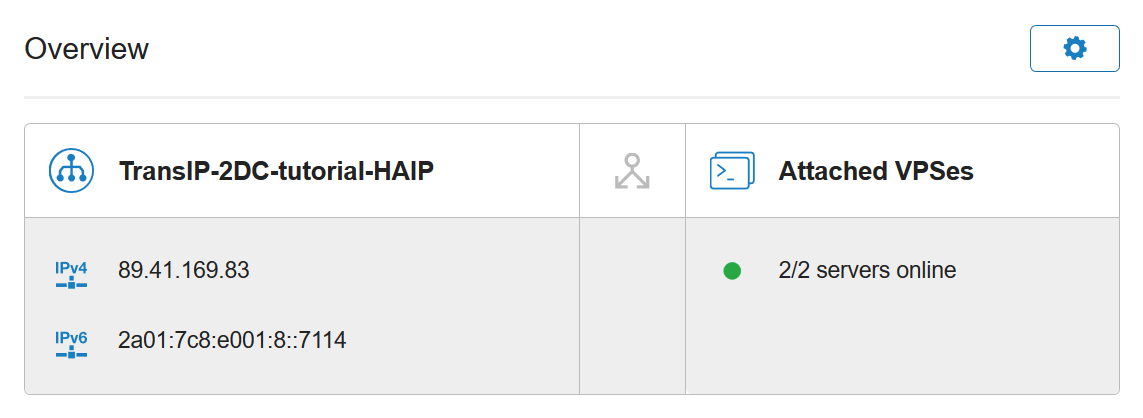
Click the cogwheel, followed by 'status report', to review in detail when a VPS has been unavailable for HA-IP Pro.
How do I configure my HA-IP Pro?
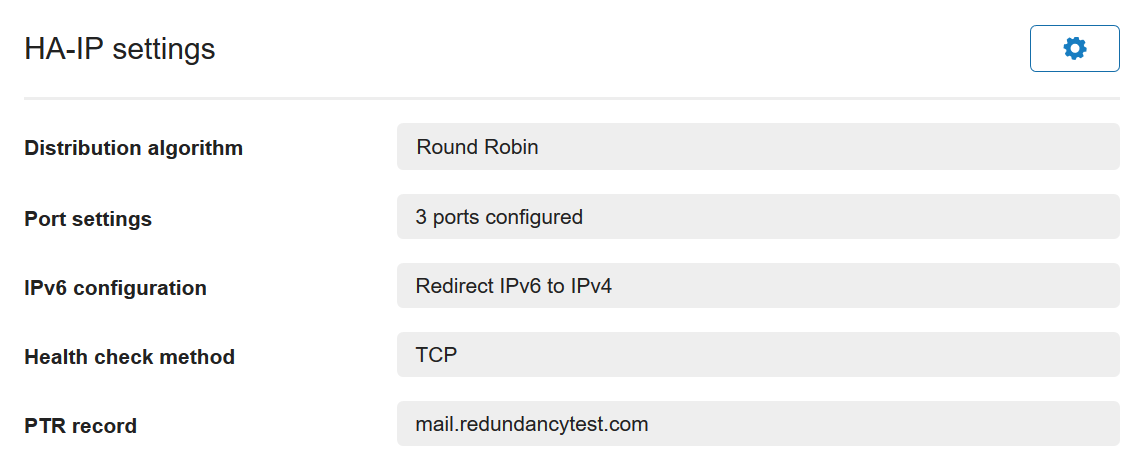
On your main HA-IP Pro overview in your control panel you'll find an overview of the current settings. Click the cogwheel to change the individual settings.
Load balancing
You can choose a load balancing method on the ‘change settings’ page. The following options are available:

Round Robin
This is a turn-based system where attached VPSes are assigned to sessions one by one. For example: session 1 goes to connected VPS 1, session 2 goes to connected VPS 2, etcetera. If two VPSes in total are connected, session 3 will go to VPS 1 again.
Sticky Sessions
Sessions are remembered through a unique code in the cookie the visitor of your site or application receives. If you use a session cookie for this (for PHP this usually is PHPSESSID), users with the same session will always arrive on the same server in your load balancing configuration. This method only works when ports are configured with HTTP or HTTPS mode.
Source IP
Sessions are assigned to the same VPS as in previous sessions based on the source IP. The IP address of the visitors are randomly assigned to one of the connected VPSes. When a VPS is removed or becomes unavailable, the traffic will be forwarded anew at random.
Forward modes
You can specify which traffic is sent to your HA-IP and which traffic is sent to your VPS under 'TCP port settings'. In this Knowledge Base-article the different modes are explained.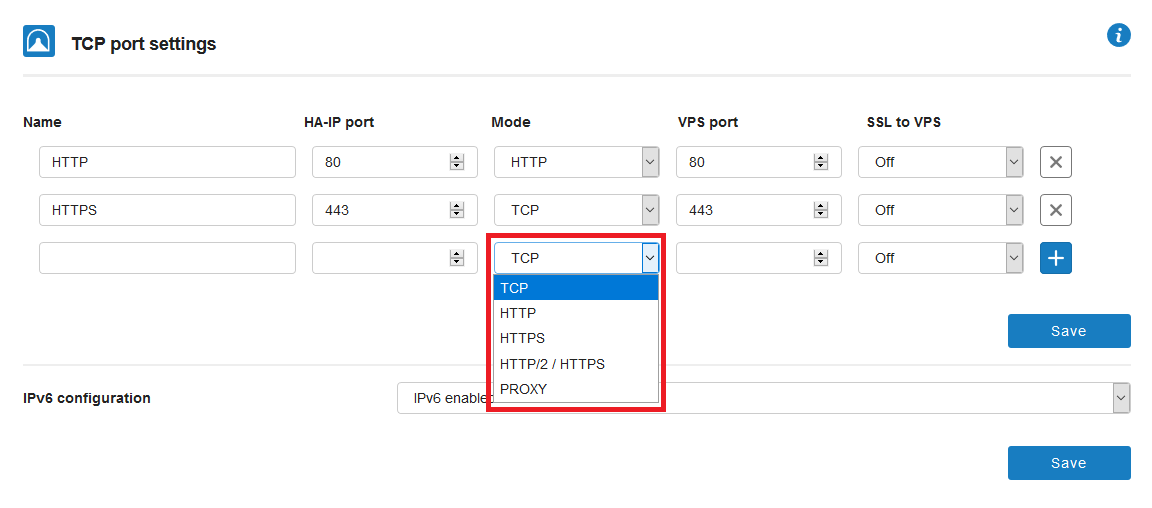
SSL settings
For securing the connection between HA-IP and your VPSes you can choose one out of three SSL methods:

Off
Traffic between HA-IP and your VPSes will be forwarded without encryption.
On
SSL must be configured on your VPSes. Self-signed certificates are allowed.
Strict
SSL must be configured on your VPSes. Certificates must be signed by a trusted certificate authority.
IPv6
You can choose if and how you’d like to forward your IPv6 traffic to your VPS’es:

IPv6 enabled
Forward all your IPv6 traffic to the IPv6 address of your connected VPSes.
IPv6 disabled
Accept only IPv4 traffic on your HA-IP and forward it to your connected VPSes.
Redirect IPv6 to IPv4
Accept all IPv4 and IPv6 traffic on your HA-IP and forward the IPv6 traffic as IPv4 traffic to the connected VPSes.
Health Checks
Additionally there’s the option to configure health checks through TCP or HTTP. The TCP health check verifies whether or not the ports on your connected VPSes accept traffic.
The HTTP health check, checks based on an HTTP status code whether the VPS is available. A 2XX – 3XX code indicates the traffic to the VPS is okay.
The health checks are perfomed from the following IPs:
- 136.144.151.0/24
- 89.41.168.0/26
- 2a01:7c8:ba1a::/48
- 2a01:7c8:e000::/48
Of course, we also give you the possibility to optionally use a script of your own which performs the health check. The path to your script is indicated in the column ‘HTTP’ uri.

Reverse DNS
Finally, in your HA-IP settings you can set a ‘Reverse DNS’ or ‘PTR record’. Reverse DNS translates the HA-IP IP address back to a (sub)domain.
Preferably use the hostname of one of the connected VPSes or the domain from which mail is sent as your reverse DNS, for example: server.yourdomainname.com or mail.yourdomainname.com

SSL-certificates
Additionally you can encrypt the traffic from your domain to your HA-IP under ‘Manage SSL-certificates’.
You can choose to add a free Let’s Encrypte SSL certificate to your domain. Once delivered you can (dis)connect the certificates as desired. See this article for a more detailed guide on SSL with HA-IP.

Please note: To use an SSL-certificate with HA-IP Pro, you can only use our Comodo SSL-certificates, or generate Let's Encrypt certificates, for domains that are in the same TransIP-account that also contains HA-IP Pro.
Handover HA-IP Pro to another account
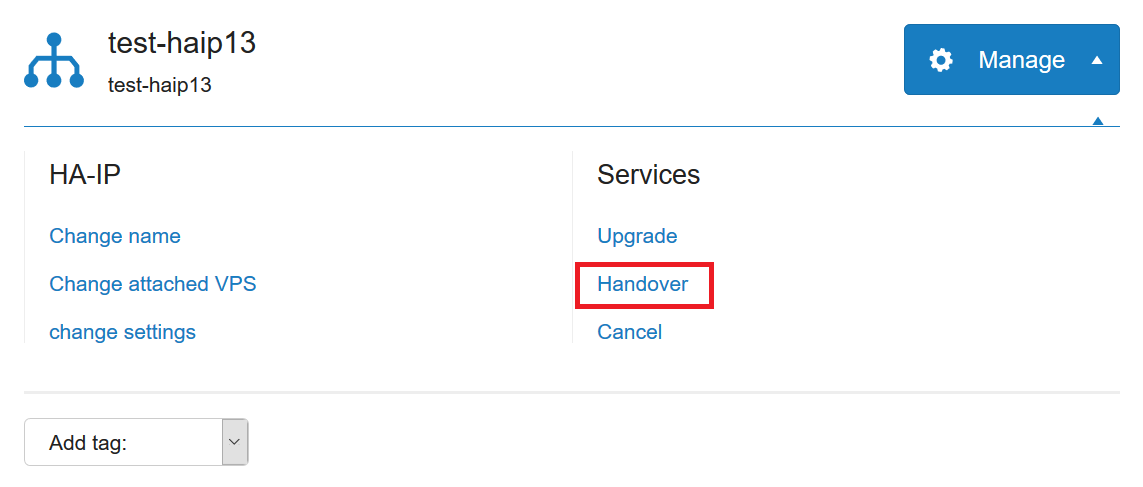
You can handover your HA-IP Pro in the control panel to another account, though you'll need the exact name of said account. The entire procedure can be found here here.
Can I choose or change HA-IP Pro's IP-address?
- At this time IP-adresses are automatically assigned (just like with a VPS) from a select group of IP ranges assigned to the HA-IP Platform. You don't yet have the option as such, to choose or change your own (HA-)IP.
- You can't transfer an existing IP from a VPS to a 'HA-IP'. As noted above, the IP's used by HA-IP come from specific IP-ranges assigned to HA-IP.
- Your HA-IP will always point to the primairy IP-address of the VPS. Attaching to another IP is considered a possible feature to be implemented in the future.
Should you have any questions left regarding this article, do not hesitate to contact our support department. You can reach them via the ‘Contact Us’ button at the bottom of this page.


