Big Storage allows you to add an extra disk with considerable storage capacity to your VPS. This is for example useful for data storage such as media files or back-ups.
Follow the steps in this article to order Big Storage and use it on your Linux VPS. Should you already have a Big Storage disk, jump streight to configuring your Big Storage.
- This article applies to a Linux VPS. For Windows, check our article about Big Storage for your Windows VPS.
- Data transfer between your VPS and Big Storage does not count towards your VPS' monthly data traffic limit.
- If you use an existing Big Storage, please note that it can only be added to a VPS in the same availability zone.
Ordering Big Storage
Step 1
In your control panel navigate to the tab 'BladeVPS'.
Step 2
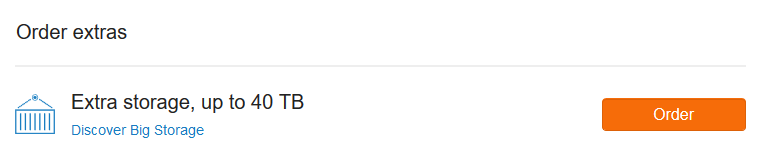
Scroll down to 'Order extras' and click 'Bestellen' behind 'Extra storage, up to 40TB'.
Step 3
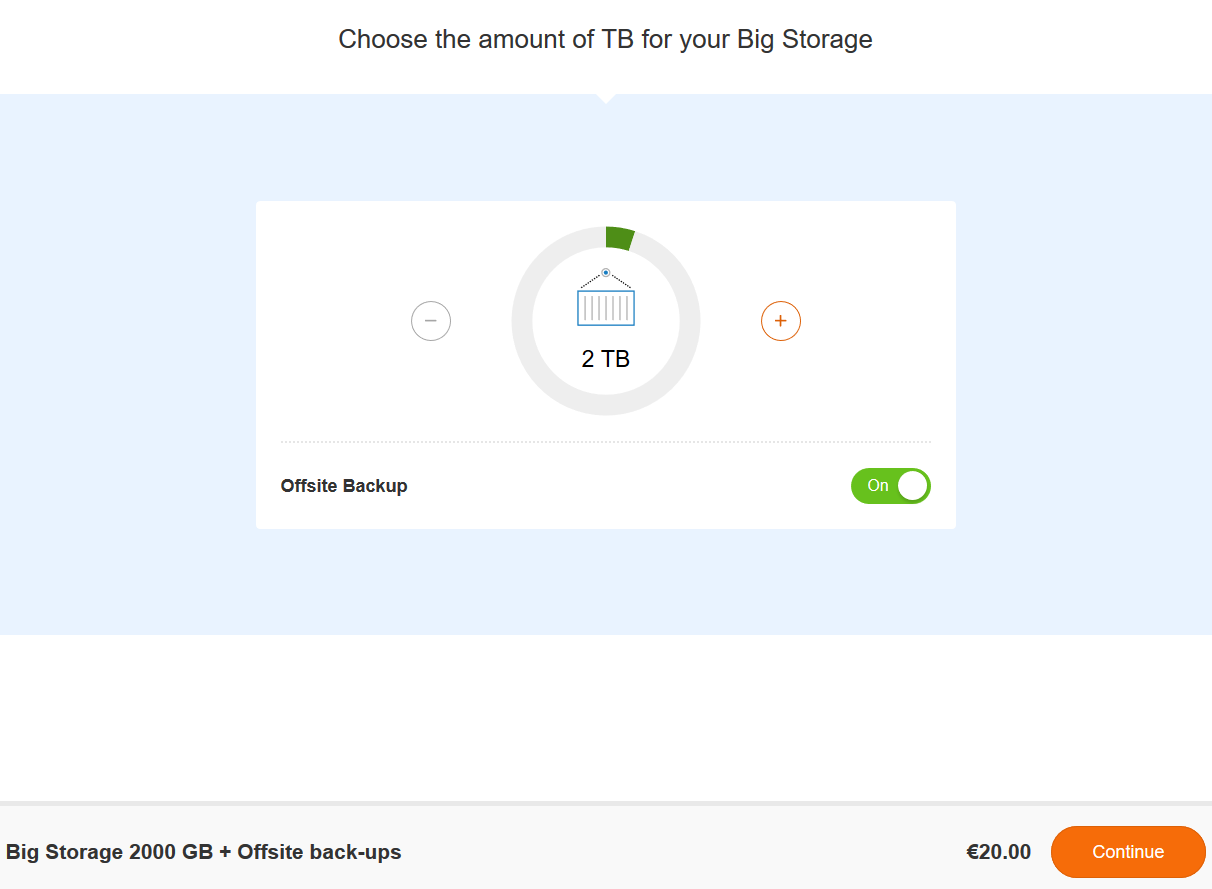
Choose the size of the disk and whether or not you'd like to use off-site back-ups for your Big Storage disk. When you're finished, click 'Continue' and follow the remaining steps of the order process.
Please note that it may take a little while before your Big Storage becomes visible in your account.
Step 4
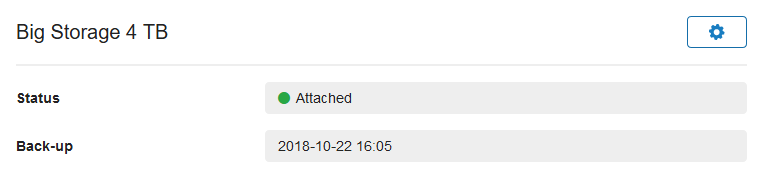
After completing the order, you're returned to your VPS overview page. Beneath the VPS console a new section called 'Big Storage X TB' will be visible. You can manage your Big Storage by clicking the cog wheel behind it.
Configuring Big Storage
Execute the steps below as a user with root rights
Step 1
Use the following command before and after the Big Storage is linked to your VPS:
lsblkThe output will look similar to this example:
NAME      MAJ:MIN    RM    SIZE  RO    TYPE   MOUNTPOINT
sr0          11:0     1   1024M   0    rom
vda         253:0     0    150G   0    disk
└─vda1      253:1     0    146G   0    part   /
└─vda2      253:1     0      1K   0    part
└─vda3      253:1     0      4G   0    part
vdb         253:0     0   2000G   0    disk
After connecting the Big Storage disk, a new disk vdX has appeared. This is your Big Storage disk. Replace X by the letter of your Big Storage disk (b in this example) in the examples in the rest of this article.
Please note: step 2-3 overwrite existing partitions and file systems on your Big Storage! Only perform these steps if the disk has been erased, or hasn't been partitioned yet.
Proceed to step 4 if you do NOT want to overwrite existing partitions and file systems and connect an existing Big Storage to another server, or if your VPS has been reinstalled again.
Step 2
The disk must be partitioned before you can install a file system. Use the following command to do so:
parted -s --align optimal /dev/vdX -- mklabel gpt mkpart primary 4MiB 100%Debian and Ubuntu often come without parted installed. If this is the case you can install it using the command:
apt-get install parted
Step 3
You can now create a file system. Below we're creating an ext4 file system, but you're welcome to choose xfs or btrfs should you prefer. These are out of the scope of this guide however.
mkfs -t ext4 /dev/vdX1
Step 4
Now mount the Big Storage disk and add it to /etc/fstab using the following commands:
mkdir /mnt/bigstorage
echo "/dev/vdX1 /mnt/bigstorage ext4 defaults 0 0" | tee -a /etc/fstab
mount /mnt/bigstorage
df -h | grep bigstorage
If succesful, you'll see a line after the last command which looks similar to:
/dev/vdb1 2.0T 33M 2.0T 1% /mnt/bigstorage
Step 5
Finally, test if you can write to your Big Storage disk:
touch /mnt/bigstorage/testfile && rm /mnt/bigstorage/testfile
You're now finished with this guide and ready to start using your Big Storage!
Should you have any questions left regarding this article, do not hesitate to contact our support department. You can reach us via the ‘Contact Us’ button at the bottom of this page.
If you want to discuss this article with other users, please leave a message under 'Comments'.

@hwsa,
You're absolutely right, not sure how that slipped in. We'll be updating the article today. Thanks for your feedback!