


Cache is temporary storage of files that allows your website to load faster. On our web hosting packages, there are several ways to enable caching.
A small drawback of cache is that changes made are not always immediately visible on your live website. In some cases, outdated cache can also cause your editor to malfunction.
If you experience problems because of this, it is advisable to clear your cache manually. After this, no 'old' data remains in the cache, and the latest version of your website is shown. In this article, we explain how to clear the cache in various ways.
Clear your browser cache
By opening an incognito window, you can quickly find out whether the issue with displaying changes lies in the browser cache. Do you see the changes in an incognito window but not in a ‘normal’ browser tab? Then always start by clearing your browser cache.
Use Ctrl+F5 (Windows) or Cmd+Shift+R (Mac) to force a refresh of the page.
Clear the cache of WordPress plugins
Are you using a plugin such as LiteSpeed Cache, WP Super Cache, W3 Total Cache, or Elementor? Clear the cache via the plugin’s settings. You can find the settings of your plugins within your WordPress dashboard.
What this looks like varies per plugin, but in most cases it is a button in the settings labeled ‘clear/delete/empty cache’. In Elementor, this is called ‘regenerate data’.
Clear your Varnish cache via the control panel
Log in to your control panel and navigate to your web hosting package. At the top, click ‘Performance & Caching’ and in the 'Performance & Caching' overview next to 'Varnish', click the three dots, followed by 'Manage'.

When Varnish is enabled, your settings are displayed here in the overview.
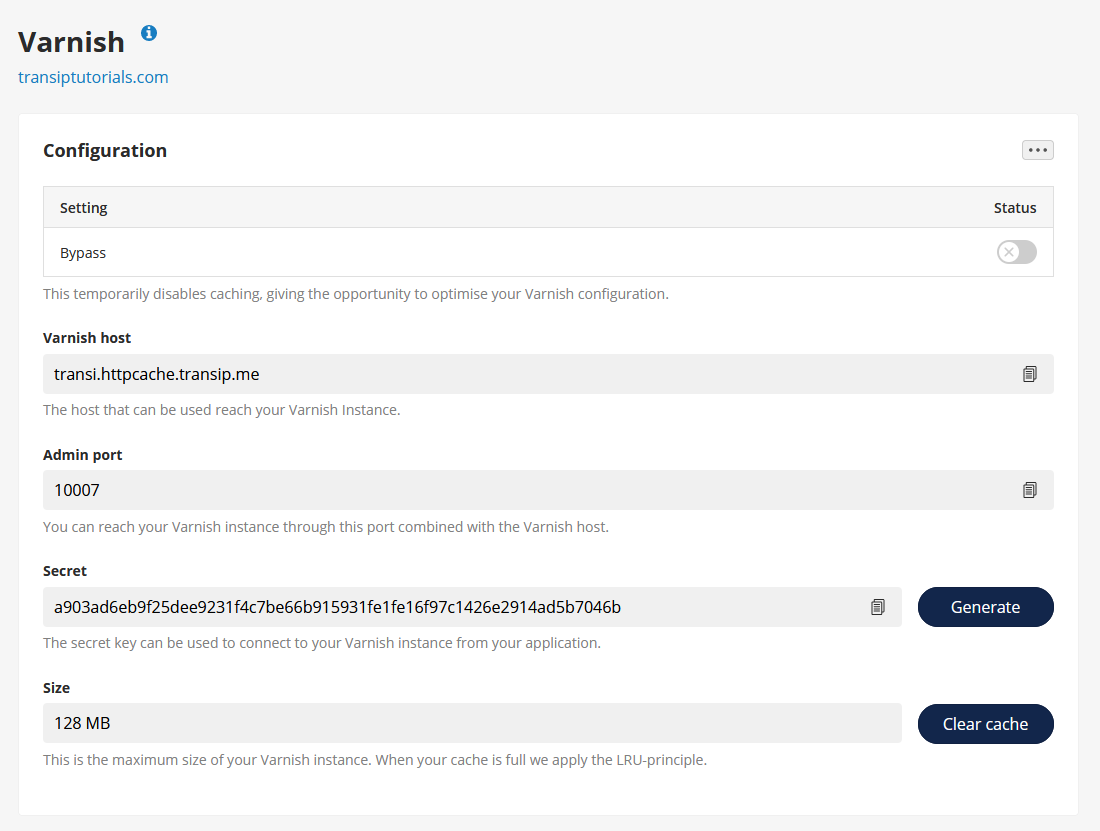
Click the 'Clear cache' button to manually empty the cache.